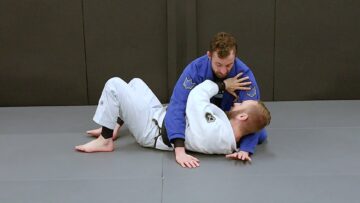
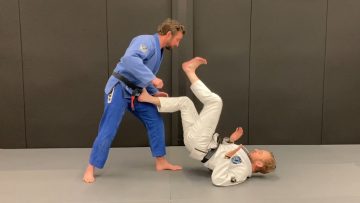
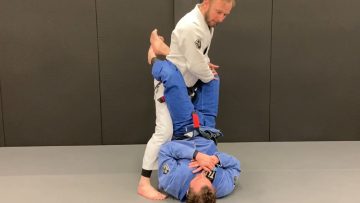
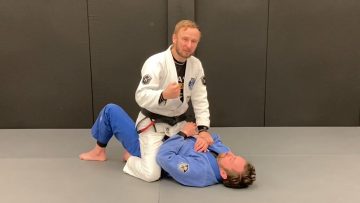
SELF-DEFENCE
Self-Defence Modules
The first Stage of learning Jiu jitsu is heavily focused on self-defence.
Class Curriculum
Done-for-you classes. Use these planned classes to add structure t
This program presents the fundamental self-defence techniques of Brazilian jiu-jitsu, in an initiative that aims to preserve the essence of the art with a modern vision of what the knowledge and practice of self-defence can offer all people.
This is the self-defence curriculum that we teach to all Atlantic Jiu-Jitsu students. The program’s design, presents detailed videos for each technique, developed to transmit the details that are most important to learn.
The program presented in two ways, Modules and Curriculum.
- The Modules are to provide a library of the related positions and techniques, and
- The curriculum is designed to bring each student from total beginner to competent practitioner
The videos emphasise and repeats the important moments and moves. The voice-over and the graphical punctuation of key words offer the practitioner an enhanced perspective on these fundamental techniques. We hope you will absorb the benefits of technical and personal evolution that self-defence practice can give to you.
Self-Defence Program Progress
- Clinch Details
- Defence Against Chest Push: Wrist-lock
- Defence vs Shoulder Grab (Shoulder Crank)
- Double Collar Grab To Hip Throw (Koshi Garuma)
- Defence of Front Bodylock (Over the Arms)
- Defence of Front Bodylock (Under the Arms)
- Standing Grip Break Vs. Wrist Control
- Standing High-elbow Guillotine
- Side Headlock Escape vs. Strikes
- Side Headlock Escape: Backward Trip (Tani Otoshi)
- Standing Guillotine Defence
- Defence of Front Headlock
- Defence of Side Headlock – Roll Under
- Defence of Side Headlock vs Upright Stance
- Defence of Side Headlock: vs. Wide Stance
- Takedown: Single Leg Takedown – Finishing with the Leg Outside
- Takedowns: Single Leg Takedown
- Takedown Defence: Sprawl vs. Single Leg Takedown
- Takedown Defence: Sprawl vs. Double Leg Takedown
- Takedowns: Double Leg Takedown
- Takedown Defence: High-elbow Guillotine vs. Double Leg Takedown
- Clinch Details
- Open Guard: Double Wrist Control to Overhead Sweep
- Closed Guard: Posture Control to Triangle Choke
- Open Guard vs Kneeling Opponent: Double Wrist Control to Triangle Choke
- Open Guard vs Standing: Double Wrist Control to Tripod Sweep
- Closed Guard: Handstand Sweep to Step-over Armbar
- Closed Guard: Handstand Sweep vs Standing
- Closed Guard: Headlock to Back Mount
- Closed Guard: Armbar Vs Choke
- Closed Guard: Inverted Armbar
- Guard Punch Block Series
- Half Guard: Guard Recovery
- Closed Guard Scissors Sweep
- Closed Guard: Shoulder Trap Armbar
- Closed Guard: Kimura (Shoulder Lock)
- Closed Guard: Double Ankle Sweep
- Closed Guard: Hip Bump Sweep
- Closed Guard: Flower Sweep
- Self-Defence: Guard Overview
- Technical Stand-up
- Guard Top: Straight Ankle Lock
- Guard Top: Kneeling Closed Guard Break
- Guard Top: Stiff Arm Closed Guard Break
- Guard Passing: Knee Cut Pass
- Guard Passing: Leg Staple Pass
- Guard Passing Overview: Four Foundational Guard Passes
- Submission Defence: Closed Guard Guillotine
- Half Guard: Pass to Side Control (Knee Cut Pass)
- Half Guard: Pass to Mount (Seven Points Pass)
- Closed Guard: Open the Closed Guard and Pass the Guard
- Mount: Cross Collar Choke
- Mount: Kata Gatame (Head & Arm Choke)
- Mount: Ezekiel Choke
- Pin Control: A Brief Overview of Dominant Positions
- Mount: Armbar vs Instinctive Push (Lateral Push)
- Mount: Keylock (Shoulder Lock)
- Self-Defence: Mount Top Overview
- Mount: Transition to Back Mount and Rear Naked Choke
- Mount: Armbar vs. Instinctive Opponent (vertical push)
- Side Control: Escape vs Head & Hip Control (Running Escape)
- Side Control: Escape vs Head & Arm Control – Back Door
- North South Control: Pendulum Escape (Elbows Outside)
- North South Control: Spinning Escape (Elbows Intside)
- Knee on Belly: Bridge to Half Guard Escape
- Knee on Belly: Escape to the Knees
- Headlock on the Ground: Frame Escape
- Headlock on the Ground: Back Door Escape
- Headlock on the Ground Overview
- Mount: Elbow/Knee Escape
- Side Control Escape: Escpae to the Knees
- Side Control Escape: Guard Recovery
- Mount: Bridge Escape
